
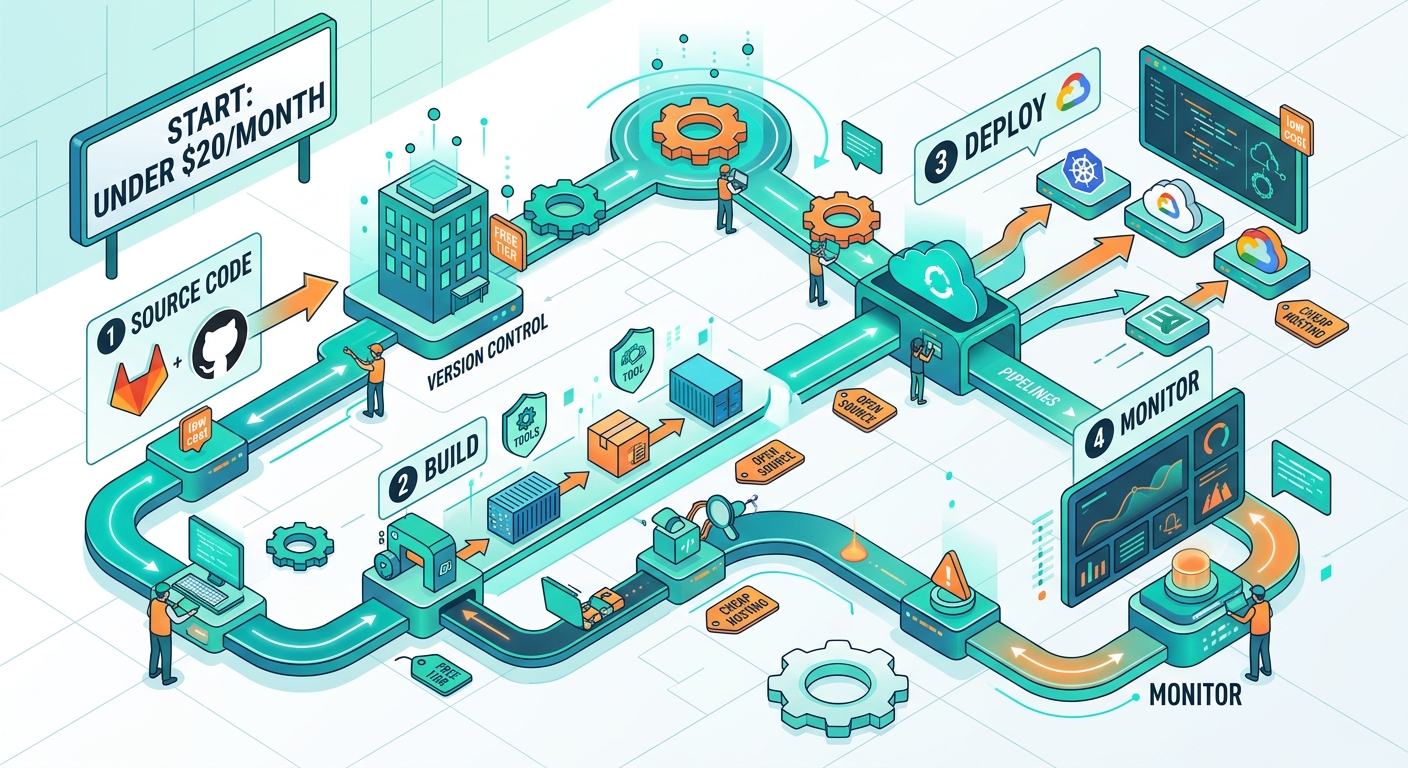
Building a professional DevOps pipeline shouldn’t cost hundreds of dollars every month. Most enterprise solutions price you out before you’ve shipped a single feature, but the truth is you can assemble a complete, production-ready workflow for less than the cost of two streaming subscriptions.
A cheap DevOps pipeline setup combines free tier hosting, open-source CI/CD tools, and budget-friendly monitoring services to deliver automated testing, deployment, and observability for under $20 monthly. This guide shows you exactly which services to choose, how to configure them together, and where to save money without sacrificing reliability or speed.
Why expensive DevOps tools hurt early-stage products
Enterprise DevOps platforms like CircleCI, Jenkins Enterprise, and DataDog charge based on assumptions that don’t match your reality.
They assume you have multiple teams.
They assume you deploy dozens of times per day.
They assume you need compliance features and support contracts.
You’re one developer trying to ship an MVP. You need reliability, not enterprise sales calls.
The good news is that modern cloud infrastructure has democratized DevOps tooling. Free tiers are generous. Open-source alternatives work beautifully. You can build something professional without the professional price tag.
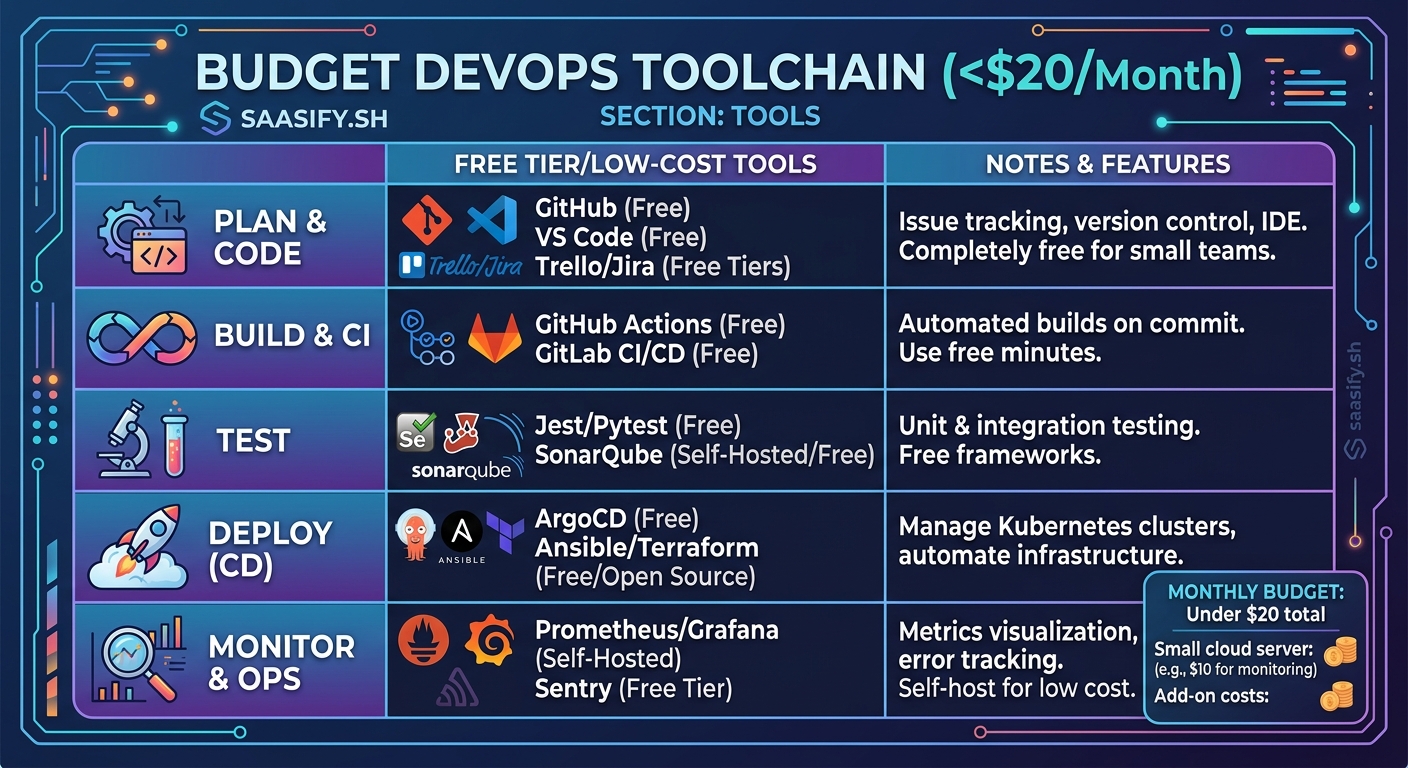
The complete stack for under $20 per month
Here’s the exact combination of services that gives you automated testing, continuous deployment, error tracking, and uptime monitoring.
| Component | Service | Monthly Cost | What It Does |
|---|---|---|---|
| Hosting | Render Free Tier | $0 | Hosts your application with auto-deploy from Git |
| CI/CD | GitHub Actions | $0 | Runs tests and builds on every commit |
| Database | Supabase Free Tier | $0 | PostgreSQL database with 500MB storage |
| Monitoring | Better Uptime | $0 | Checks if your site is down every 3 minutes |
| Error Tracking | Sentry Free Tier | $0 | Captures and reports application errors |
| DNS | Cloudflare Free | $0 | Fast DNS with basic DDoS protection |
| Email Alerts | UptimeRobot | $0 | Backup monitoring with SMS alerts |
| Backup Storage | Backblaze B2 | ~$0.50 | Database backups (first 10GB free) |
| Domain | Namecheap | ~$12/year | Your custom domain name |
| SSL Certificate | Let’s Encrypt | $0 | HTTPS encryption (auto-renewed) |
Total monthly cost: approximately $1.50, or $13.50 if you include the domain amortized monthly.
That leaves you $6.50 under budget for overages or upgrades.
Setting up your Git-based deployment workflow
Start with GitHub as your source of truth. Every change goes through version control. No exceptions.
- Create a new repository for your project
- Add a
.github/workflowsdirectory to your repo - Create a
ci.ymlfile that runs tests on every push - Connect your repository to Render for automatic deployments
- Configure environment variables in Render’s dashboard
- Push to your main branch to trigger your first deploy
Your GitHub Actions workflow should look something like this:
name: Test and Build
on: [push, pull_request]
jobs:
  test:
    runs-on: ubuntu-latest
    steps:
      - uses: actions/checkout@v3
      - name: Run tests
        run: npm test
This runs your test suite on every commit. Free. No credit card required.
Render watches your main branch. When tests pass and you merge, it automatically builds and deploys your application. You get a URL like yourapp.onrender.com within minutes.
The best DevOps pipeline is the one you’ll actually use. Start simple. Add complexity only when you feel genuine pain from its absence.
Configuring automated testing that catches bugs early
GitHub Actions gives you 2,000 free minutes per month. That’s enough for hundreds of test runs.
Create different workflows for different purposes. One for unit tests. Another for integration tests. A third for linting and code quality checks.
Your test workflow should fail fast. Run the fastest tests first. If your linter catches a syntax error, don’t waste time running the full test suite.
Here’s a practical structure:
- Linting and formatting: 30 seconds
- Unit tests: 2-3 minutes
- Integration tests: 5-10 minutes
- Build verification: 1-2 minutes
Total pipeline time: under 15 minutes for a complete run.
If tests fail, the deployment doesn’t happen. Your main branch stays clean. Your production environment stays stable.
Database hosting without breaking the bank
Supabase gives you a PostgreSQL database with 500MB of storage. That’s enough for tens of thousands of users if you design your schema efficiently.
The free tier includes:
- Automatic backups (7 days retention)
- Connection pooling
- Row-level security
- Real-time subscriptions
- Built-in authentication
When you outgrow 500MB, the paid tier starts at $25 per month. Still reasonable, but you can delay that upgrade by avoiding common database design mistakes that waste storage.
Set up automated backups to Backblaze B2. A simple cron job can dump your database nightly and upload it for pennies per month. You’ll sleep better knowing you can recover from catastrophic failures.
Monitoring that actually tells you when things break
Better Uptime checks your application every 3 minutes. If it goes down, you get an email immediately.
UptimeRobot provides a second layer. It checks every 5 minutes and can send SMS alerts if email fails.
This redundancy matters. If your email provider has an outage at the same time as your application, you need another way to know.
Configure both monitors to check your health endpoint, not just your homepage. A health endpoint should verify:
- Database connectivity
- External API availability
- Disk space above critical thresholds
- Memory usage within acceptable ranges
Return a 200 status code only if everything passes. Return 503 if any check fails.
Your monitoring tools will catch the 503 and alert you before users start complaining.
Error tracking that helps you fix bugs faster
Sentry’s free tier captures 5,000 errors per month. For an early-stage product, that’s plenty.
Integrate it into your application with a few lines of code. It automatically captures:
- Unhandled exceptions
- Failed API calls
- JavaScript errors in the browser
- Performance bottlenecks
Each error includes a stack trace, user context, and breadcrumbs showing what happened before the crash.
You can group similar errors together. Fix one bug and resolve hundreds of error instances at once.
Set up alerts for new error types. If a fresh bug appears in production, you’ll know within minutes.
Deployment strategies that minimize downtime
Render supports zero-downtime deployments by default. It spins up your new version, waits for health checks to pass, then switches traffic over.
Old instances keep running until active requests complete. Users never see a connection error.
If your new deployment fails health checks, Render automatically rolls back to the previous version. You don’t need to intervene.
This works great for monolithic architectures where a single service handles all requests. For more complex setups, you might need feature flags to gradually roll out changes.
Security basics you can’t skip
Cloudflare sits between your users and your application. It provides:
- DDoS protection
- SSL/TLS encryption
- Automatic certificate renewal
- Basic firewall rules
- CDN caching for static assets
All of this comes free. You just point your domain’s nameservers to Cloudflare and configure your DNS records.
Enable “Always Use HTTPS” in the SSL settings. This forces all traffic through encrypted connections.
Set up a Content Security Policy header to prevent XSS attacks. Add rate limiting to protect against brute force attempts. Configure your firewall to block traffic from known bad actors.
These protections cost nothing but a few minutes of configuration time.
Scaling your pipeline as your product grows
The beauty of this setup is that each component can scale independently.
When you exceed GitHub Actions’ free minutes, the paid tier costs $0.008 per minute. Running 10,000 minutes costs $80 per month, and by that point you’re probably generating revenue.
When Supabase’s free tier becomes limiting, you upgrade just that piece. Everything else keeps running on free tiers.
When you need more sophisticated monitoring, you can add Grafana Cloud’s free tier or upgrade Better Uptime to get faster check intervals.
You’re not locked into an all-or-nothing pricing model. You pay for what you actually use.
Common mistakes that waste money
Don’t pay for services before you need them. I’ve seen founders sign up for New Relic’s paid tier before they have a single user. That’s $99 per month for metrics nobody looks at.
Don’t over-provision your hosting. Render’s free tier handles surprising amounts of traffic. You can serve thousands of requests per day before you need to upgrade.
Don’t ignore your database indexes. A missing index can make your queries 100x slower, forcing you to upgrade to a larger database instance when better schema design would solve the problem for free.
Don’t skip the health checks. If your monitoring just pings your homepage, it might report “up” while your database is completely offline. Users will notice before you do.
When to actually spend more money
Some situations justify paying for premium services.
If you’re processing payments, spend money on better security monitoring. Sentry’s paid tier gives you more detailed performance tracking and longer data retention.
If you’re serving customers in multiple regions, pay for a real CDN with global edge locations. Cloudflare’s free tier works, but the paid tier is faster.
If you’re handling sensitive data, pay for automated security scanning. Snyk offers a free tier, but the paid version catches more vulnerabilities.
If downtime costs you real money, pay for better uptime monitoring with 1-minute check intervals and phone call alerts.
The key is matching your spending to your actual risks and revenue. When you’re building your MVP, cheap is fine. When you’re serving paying customers, invest in reliability.
Automating everything you can
The point of DevOps is to remove manual work. Every task you automate is one less thing that can go wrong at 2am.
Automate your deployments. Push to main and walk away. The pipeline handles the rest.
Automate your database backups. Schedule them for low-traffic hours. Verify they’re actually restorable.
Automate your dependency updates. Tools like Dependabot create pull requests when new versions are available. Review them, merge them, and let your CI pipeline verify nothing broke.
Automate your security scanning. GitHub’s free security alerts will notify you when dependencies have known vulnerabilities.
The time you invest in automation pays back every single week. You’ll ship faster and sleep better.
Making your pipeline actually reliable
A cheap DevOps pipeline setup only works if it’s reliable. Here’s how to ensure it doesn’t fail when you need it most.
Test your rollback procedure. Intentionally deploy a broken version and verify that automatic rollback works. Do this in a staging environment first.
Test your backup restoration. Download a backup and restore it to a local database. Confirm all your data survived the round trip.
Test your monitoring alerts. Temporarily break your health endpoint and verify that you receive alerts through all configured channels.
Test your CI pipeline with intentionally failing tests. Confirm that bad code never reaches production.
Run these tests quarterly. Systems drift. Dependencies update. What worked six months ago might fail today.
Building confidence through incremental improvements
You don’t need to implement everything at once. Start with the basics and add pieces as you learn what matters.
Week one: Set up Git-based deployments. Get code from your laptop to production with one command.
Week two: Add automated tests. Start with a few critical paths. Expand coverage over time.
Week three: Configure monitoring and error tracking. Know when things break before users tell you.
Week four: Automate database backups. Protect yourself from catastrophic data loss.
Each week, your pipeline gets stronger. Each improvement builds on the last one. You’re not trying to match Netflix’s deployment infrastructure. You’re building something appropriate for your scale.
Your next steps
Pick one component from this guide and implement it today. Don’t wait for the perfect moment. Don’t plan for six months. Just start.
If you already have hosting, add monitoring. If you already have monitoring, add automated tests. If you already have tests, add automated backups.
Every small improvement compounds. A year from now, you’ll have a robust, professional pipeline that costs less than a gym membership and supports thousands of users.
The best cheap DevOps pipeline setup is the one you’ll actually build and maintain. Start simple. Stay focused. Ship code.