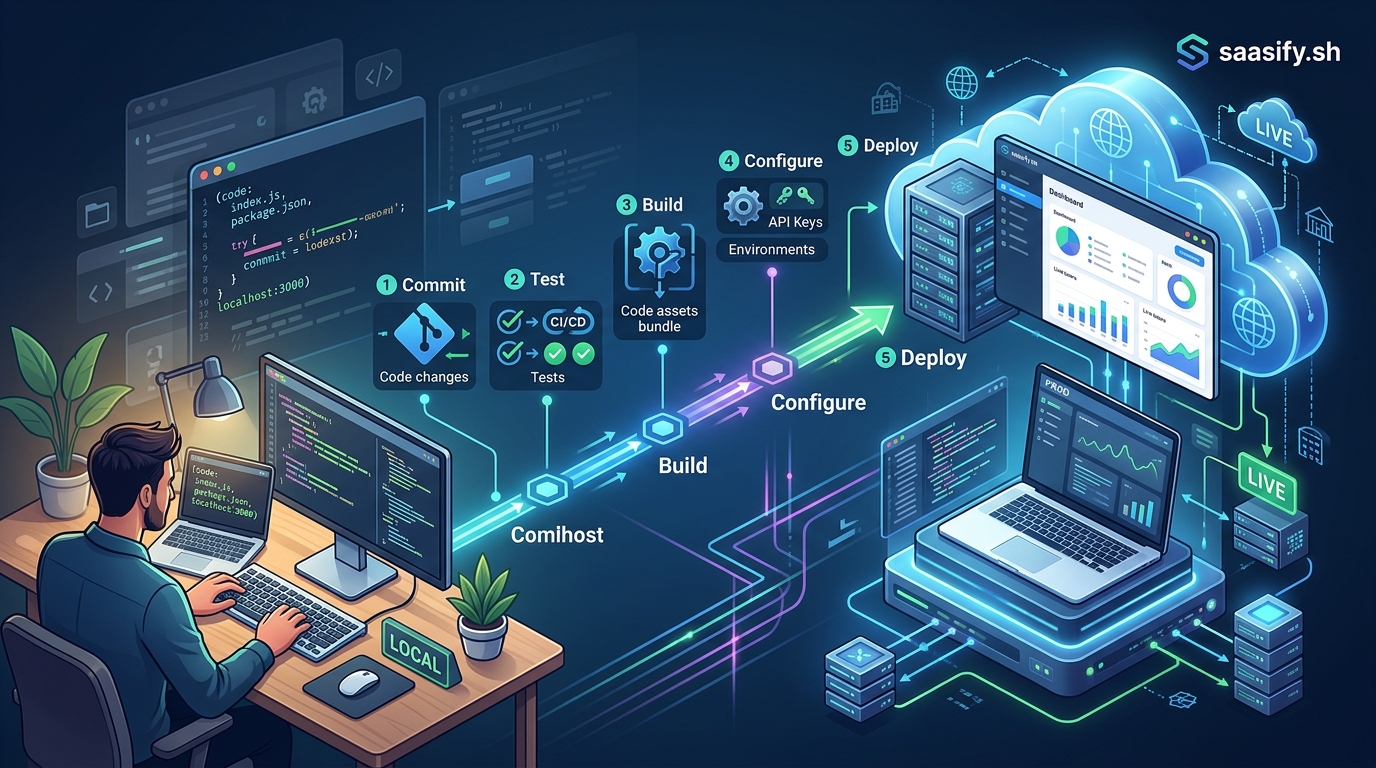
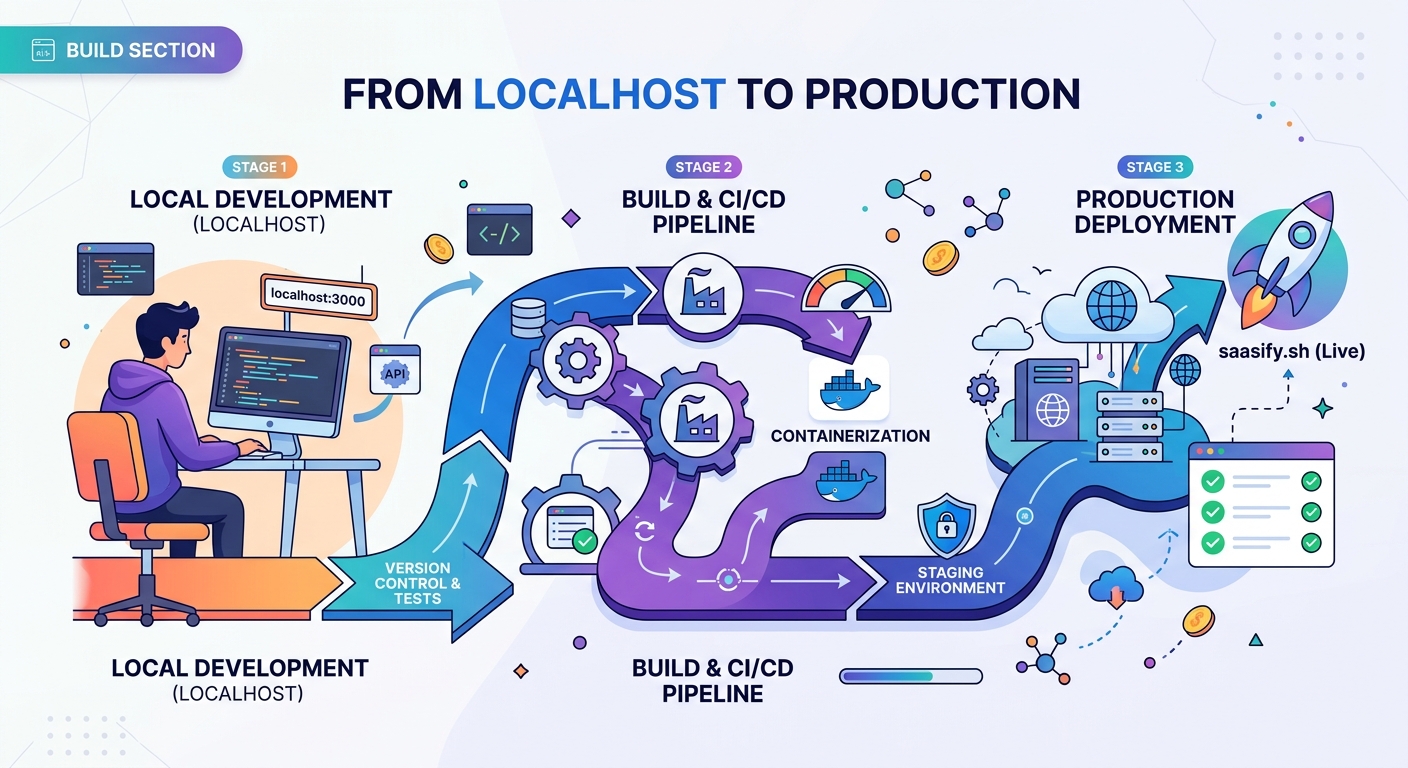
You’ve built something real. Your SaaS works on your laptop. Users can sign up, log in, and actually use the features you spent months building. But right now, it only exists on localhost:3000. Nobody else can see it. Nobody can pay for it. And that’s the problem you’re here to solve.
Deploying your SaaS application to production involves choosing a hosting platform, configuring environment variables, setting up a database, implementing SSL certificates, and establishing monitoring systems. This guide walks first-time founders through each step with practical examples, helping you move from localhost to a live application that real customers can access and use without requiring advanced DevOps knowledge.
Understanding what production actually means
Production isn’t just “localhost but online.” It’s a fundamentally different environment with different requirements.
Your localhost setup forgives mistakes. You restart the server when something breaks. You use test data. You skip security steps because you’re the only user.
Production doesn’t forgive anything. Real users expect your app to work 24/7. Their actual credit cards get charged. Their real business data lives in your database. One mistake can cost you customers, revenue, or worse.
The good news? You don’t need to become a DevOps expert overnight. You just need to understand the essential pieces and implement them correctly once.
Choosing your hosting platform
Platform choice matters less than you think, but it still matters.
For most first-time SaaS founders, three platforms make the most sense: Vercel, Railway, and Render. Each handles the annoying infrastructure stuff so you can focus on your product.
Vercel works great for Next.js applications. Deploy with a single command. Automatic SSL. Built-in CDN. The free tier handles early-stage traffic easily.
Railway simplifies full-stack deployments. Database and application in one place. Simple pricing. Good documentation written for developers, not systems engineers.
Render offers similar benefits with slightly different pricing. Generous free tier. Automatic deploys from GitHub. Native support for most frameworks.
Avoid AWS, Google Cloud, or Azure at this stage. Yes, they’re more powerful. They’re also massively more complex. You’ll spend weeks learning infrastructure instead of talking to customers. Save the big cloud platforms for when you actually need them.
Setting up your production database
Your SQLite file won’t cut it anymore.
Production databases need to be separate from your application server. When your app restarts (and it will restart), your data needs to persist.
PostgreSQL is the safe choice. Mature, reliable, and supported everywhere. Most hosting platforms offer managed PostgreSQL that handles backups, scaling, and security automatically.
Create your production database through your hosting platform’s dashboard. Copy the connection string they provide. It looks something like this:
postgresql://username:password@host:5432/database_name
Never commit this string to GitHub. Store it as an environment variable instead.
Run your migrations against the production database before deploying your application. Test the connection locally first. Change your local environment variables to point at production, run migrations, then change them back.
This prevents the nightmare scenario where your app deploys successfully but can’t find any database tables.
Managing environment variables correctly
Environment variables are how your application knows it’s running in production.
Your localhost uses .env files. Production uses platform-specific environment variable systems. Every hosting platform has a different interface, but the concept stays the same.
You need separate values for development and production:
- Database URLs
- API keys for payment processors
- Secret keys for session management
- OAuth credentials
- Email service credentials
Create a checklist of every environment variable your application uses. Go through your codebase and find every process.env.VARIABLE_NAME reference. Write them all down.
Then set each one in your hosting platform’s dashboard. Most platforms let you paste them in bulk, which saves time if you have dozens.
Test your environment variables before going live. Deploy to a staging environment first, or use your platform’s preview deployments. Catch missing variables before real users see error messages.
Implementing SSL certificates
Your production app needs HTTPS. No exceptions.
Fortunately, this used to be hard and expensive. Now it’s automatic and free.
Modern hosting platforms include SSL certificates by default. Vercel, Railway, and Render all use Let’s Encrypt to generate certificates automatically when you add a custom domain.
You just need to:
- Buy a domain name from any registrar
- Add the domain to your hosting platform
- Update your DNS records to point at the platform’s servers
- Wait 10 minutes for DNS propagation
The platform handles certificate generation, renewal, and HTTPS redirects automatically.
Don’t skip this step. Browsers now show scary warnings for HTTP sites. Payment processors require HTTPS. Users expect that padlock icon.
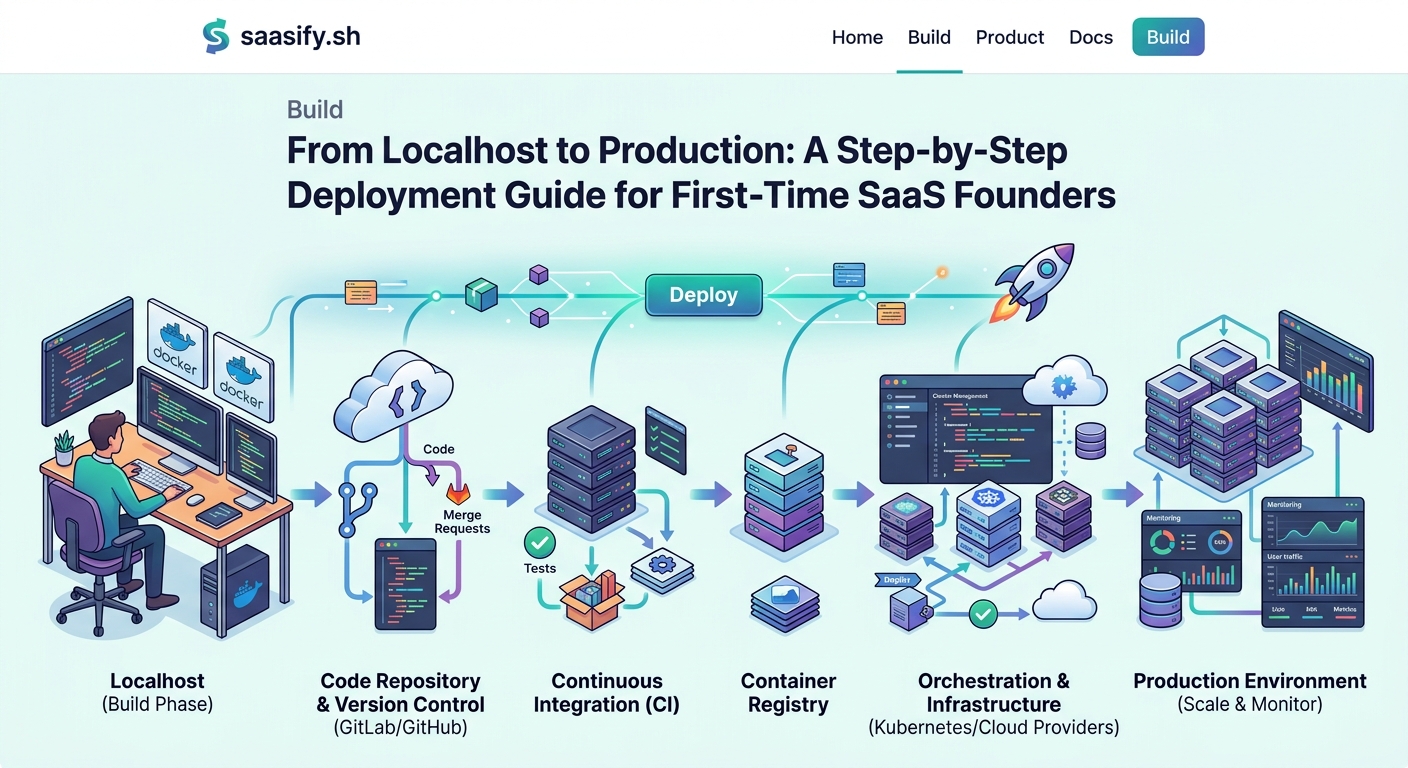
Creating your deployment pipeline
Manual deployments create problems. Automated deployments prevent them.
Connect your GitHub repository to your hosting platform. Every time you push to your main branch, the platform automatically builds and deploys your application.
This workflow prevents common mistakes:
- Forgetting to deploy after fixing a bug
- Deploying code that doesn’t actually work
- Losing track of which version is live
- Breaking production with untested changes
Set up a staging branch if you want extra safety. Push to staging first, test everything, then merge to main for production deployment.
Most platforms let you configure build commands and start commands. For a typical Node.js app:
Build command: npm run build
Start command: npm start
Adjust these based on your framework and setup.
Configuring monitoring and error tracking
You can’t fix problems you don’t know about.
Add error tracking before your first real user signs up. Sentry offers a generous free tier and takes 10 minutes to set up.
Install the SDK, add your project key to environment variables, and initialize it in your application entry point. Now every error gets logged with full stack traces, user context, and environment details.
Set up basic uptime monitoring too. UptimeRobot checks if your site is accessible every 5 minutes and emails you when it goes down. The free plan monitors up to 50 URLs.
Add basic analytics so you know if anyone actually uses your product. Plausible or Fathom provide privacy-friendly analytics without the complexity of Google Analytics.
Handling database migrations safely
Changing your database schema in production requires care.
Never delete columns or tables without a migration plan. Always add new columns as nullable first. Deploy the code that uses them. Then make them required in a second migration.
This two-step process prevents downtime. Your application keeps working even during deployment because the database supports both old and new code temporarily.
Back up your production database before running migrations. Most managed database services do this automatically, but verify it. One bad migration can corrupt data that took months to collect.
Test migrations on a copy of production data when possible. Export a snapshot, restore it locally, run the migration, and verify everything works.
Setting up your first production deploy
Now you’re ready to actually deploy.
Here’s the step-by-step process:
- Push your code to GitHub
- Connect your repository to your hosting platform
- Configure environment variables in the platform dashboard
- Set your build and start commands
- Trigger the first deployment
- Watch the build logs for errors
- Visit your production URL to verify it works
- Test critical user flows (signup, login, core features)
- Check error tracking to catch any issues
- Monitor for the next 24 hours
Your first deploy rarely works perfectly. Don’t panic. Read the error messages. Most problems are missing environment variables or incorrect build commands.
Common deployment mistakes and how to avoid them
First-time founders make predictable mistakes. Learn from them instead of repeating them.
| Mistake | Why it happens | How to avoid it |
|---|---|---|
| Exposing API keys in client code | Confusion about environment variables | Only use secret keys in server-side code |
| Skipping database backups | Assuming the platform handles it | Verify backup schedule and test restoration |
| Using development dependencies in production | Default package.json settings | Review dependencies and use –production flag |
| Hardcoding localhost URLs | Forgetting to update for production | Use environment variables for all URLs |
| Ignoring CORS errors | Works fine in development | Configure CORS properly for your production domain |
| Not testing payment flows | Afraid to trigger real charges | Use test mode until you verify everything works |
Preparing for your first real users
Deployment isn’t the finish line. It’s the starting line.
Before you share your production URL with anyone, test these scenarios:
- New user signup with a real email address
- Password reset flow
- Payment processing (in test mode)
- Email delivery
- Mobile responsiveness
- Loading speed from different locations
Create a simple health check endpoint that verifies your database connection, external API access, and critical services. Hit this endpoint from your monitoring service to catch problems before users do.
Set up a status page so users know when something breaks. Statuspage.io offers a free tier. Update it honestly when things go wrong. Users appreciate transparency.
If you’ve already started building an audience, consider how you’ll handle the transition from building a pre-launch waitlist to actually letting people in. A soft launch lets you test with a small group before opening the floodgates.
Scaling considerations for later
Don’t optimize for scale you don’t have yet.
Your first production setup should handle 100 concurrent users easily. That’s more than enough for your first few months.
When you actually need to scale, you’ll know because:
- Your database queries slow down noticeably
- Your server runs out of memory
- Your hosting bill jumps unexpectedly
- Users report performance issues
Until those things happen, focus on features and customer acquisition instead of infrastructure. The skills you need for validating your SaaS idea matter more than premature optimization.
Most SaaS applications never need complex scaling. A well-configured single server handles thousands of users. Database indexing and caching solve most performance problems.
Security basics you can’t skip
Production security isn’t optional, but it doesn’t need to be complicated.
Enable rate limiting on authentication endpoints. This prevents brute force attacks. Most frameworks include middleware for this.
Use parameterized queries or an ORM to prevent SQL injection. Never concatenate user input into SQL strings.
Implement CSRF protection for forms. Most frameworks include this by default, but verify it’s enabled.
Set secure session cookie flags: httpOnly, secure, and sameSite. This prevents common session hijacking attacks.
Keep dependencies updated. Enable Dependabot on GitHub to get automatic pull requests when security vulnerabilities are found.
These basics cover 95% of common attack vectors. Save advanced security for when you have revenue to protect.
Your production checklist
Before you call it done, verify each item:
- [ ] Application deploys successfully
- [ ] Database migrations ran without errors
- [ ] Environment variables are set correctly
- [ ] SSL certificate is active
- [ ] Custom domain points to your app
- [ ] Error tracking captures exceptions
- [ ] Uptime monitoring is configured
- [ ] Database backups are scheduled
- [ ] Critical user flows work end-to-end
- [ ] Payment processing works in test mode
- [ ] Email delivery functions correctly
- [ ] Mobile layout looks acceptable
- [ ] Health check endpoint responds
From deployment to growth
Your SaaS is live. Real people can use it. This is where the actual work begins.
Deployment was the technical challenge. Growth is the business challenge. You need to figure out how to price your product when nobody knows it exists yet. You need to decide between launching big or starting small.
But none of that matters if your app isn’t live. You did the hard part. You moved from localhost to production. Now you can actually build a business.
Keep your production environment simple. Add complexity only when you need it. Monitor what matters. Fix what breaks. And spend most of your time talking to the customers you can finally have.
Your application is ready for the world. Now go show it to them.